
We’ll show you how to install and download the Xray mod in Minecraft in this article. For the unfamiliar, Minecraft Xray is a mod that allows players to create see-through blocks in order to locate not just diamonds, ores, and caverns, but also mineshafts and other hidden objects, The X-ray mod for Minecraft can assist you in locating interesting cave systems or even ocean monuments. Let’s get right to it and figure out how to download and install the Xray mod in Minecraft.
How To Download & Install The XRay Mod in Minecraft
1). Downloading Forge Mod
It is required to install the Forge mod before downloading and installing the Minecraft Xray mod. In case you already have Forge Mod installed you may skip this point for others to follow the following steps.
1. To begin, go to https://files.minecraftforge.net/ and download the Installer for the version of Minecraft you want.
2. Now launch the installer and choose ‘Install server’ from the drop-down menu.

3. Mercusious, the arrow and unchecked box in the above image, is analytics, which aids in the tracking of mods in Minecraft. Leave it unchecked if you don’t think it’s necessary.
4. The three… (dot) you see in the image is an option that asks you to choose a folder to install Forge to. It is strongly advised that you create a temporary folder on your desktop or laptop to install Forge in Minecraft.

5. When you select the OK option, Install will begin downloading the Forge file to the location you specify. Now is the time to wait until all of the files have finished downloading before proceeding to the next step.

6. Rename the Forge file to ‘custom.jar’ once it has been downloaded. By default, the file name will be ‘forge-1.12.2-14.23.1.2560-universal.jar’. However, the figures might be somewhat different. As you can see in the picture above, we’ve highlighted the proper file.

7. Now it’s time to use FTP to upload the necessary files to your server. Because there are several files, an FTP client like FileZilla is preferable to the online FTP interface. Before continuing, double-check that you’re uploading the proper file, not the directory you made. Simply choose the files that were produced and upload them to your FTP’s root directory (default directory).

8. The contents of the directory will appear like this when the file has been uploaded.
9.Set your ‘Server Type’ to Custom JAR in the control panel, as seen in the picture below:

10. Start your server. That’s all there is to it when it comes to installing Minecraft Forge.
2). Downloading Minecraft XRay Mod
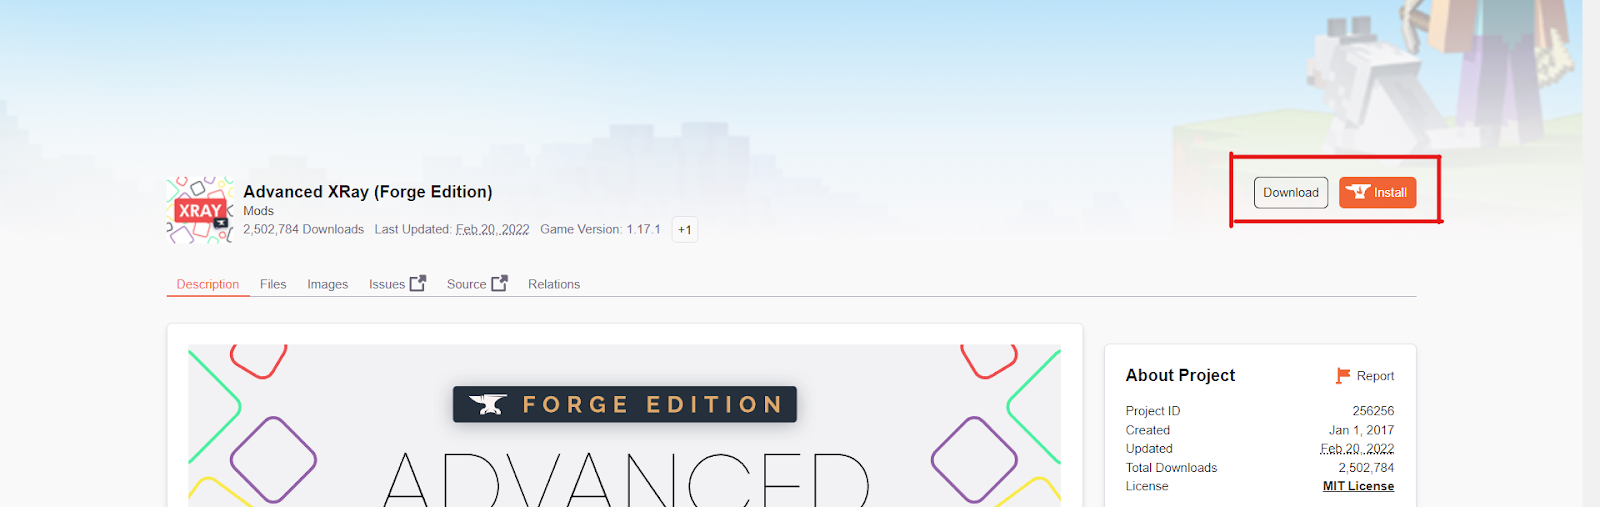
Yes, now is the time to download the Xray mod after installing Forge mod. If you don’t know how to accomplish it, don’t worry; it’s fairly simple. All you have to do now is click here. When you click the link, you will be given two choices. You must click on the Download button in the top right corner of the screen to download or install. The newest version of the Minecraft Xray mod will be downloaded automatically in a few seconds.
3). Creating the .minecraft folder
When it comes to installing the Xray mod in Minecraft, this may be the most difficult stage to do. You must first navigate to the ‘.minecraft’ folder in order to install the mod. You must simultaneously press the ‘Windows Key’ button on the left bottom of the screen and the ‘R’ key on your keyboard to do this. This will launch the ‘Run’ software.
Simply put ‘% appdate %’ into the search box after the function has been opened. This will access the data folder for your ‘Roaming’ programme. You’ll see a folder called ‘.minecraft’ at this location. After you’ve located the stated folder, double-click it to open it. That’s all there is to it.

4). Make Sure You Have A ‘Mods’ Folder
Before we proceed with the installation of the Minecraft Xray mod, you must first establish a folder in which to store it. To do so, go within the ‘.minecraft’ folder we indicated in Step 3 for the ‘mods’ folder. After you’ve located and opened that folder, it’s time to install the Minecraft XRay mod!
5). Install The XRay Mod
You should now be aware of how simple it is to install and download the Xray mod in Minecraft. You only need to drag and drop the downloaded file now. This will successfully install the mod in Minecraft, but you are not yet finished. Before you can start enjoying the XRay mod, there’s one more thing you need to do.
6). Select The Correct Version of Minecraft
You’re almost done with the procedure. The final step is to pick the ‘forge’ version of Minecraft that you downloaded in Step 1. To do so, open the standard Minecraft launcher and choose the little arrow next to the ‘Play’ button. When you press the button, it will launch all of the Minecraft versions that you have installed on your computer. Find and click the version labeled ‘forge’ in this list. After that, simply press play, and you’re done!
You have now successfully installed Minecraft Xray.
Congratulations! You now know how to get the XRay mod for Minecraft and install it! Have fun looking for everything and everything you can think of! Please keep in mind that XRay is forbidden on most servers, and if you’re discovered using it, you’ll be kicked off.