
It can be tough to work with.jar files. However, it is critical when playing Minecraft. However, these files will occasionally fail to open when you need them the most. They also won’t let you edit, modify, or relocate them. As a result,.jar files are the worst files on the internet. Jarfix may be used to repair these types of files how To Use The Jarfix to Repair .jar Files on Your PC.
Jarfix is a light file and a Windows installation. It’s used to fix.jar files that have become corrupted. With a single click, you can do this.
In this article, we will learn how to download and use Jarfix to repair .jar files on your PC.
How To Use The Jarfix to Repair .jar Files on Your PC
1). Download Java JDK
1. Download JAVA JDK for Minecraft
The first step in getting Java is to download it. This is a very simple and straightforward procedure. Simply click this link to be directed to the download page for the Java SE Development Kit! The procedure is simple once you arrive. Click on ‘Windows,’ then on the x64 Installer download link next to it. After that, your download will begin. Depending on your browser, you may need to save or retain the file. It is completely risk-free.

2. Install JAVA SE Development Kit
Now that you’ve downloaded Java, it’s time to install it. Fortunately, installing Java is as easy as installing any other software. First and foremost, double-click the downloaded Java Development Kit (JDK) file. The ‘Java SE Development Kit – Setup’ software will open. Click the ‘Next’ button in the bottom right corner after it has opened. After that, click next again, and the Java JDK will begin to install.

3. Checking JAVA SE Development Kit is working
After you’ve downloaded Java JDK, double-check that it’s working. Open Minecraft, try to open your sever.jar, launch Forge, Optifine, or whatever Minecraft mod you’re trying to install! You’re finished if it works.
2). Install the JARFIX
If you have successfully installed the Java Development Kit but are still unable to access java files on your computer, you will need to install the Jarfix to fix the problem. This is really basic software that handles everything for you. Simply click here to get the Jarfix. This will start the Jarfix download right away. It’s possible that you’ll need to double-check that the file is safe, but as long as it’s labeled ‘jarfix.exe,’ it’s completely safe to download. It’s time to run Jarfix now that you’ve downloaded it!
3). Run the JARFIX
Running the Jarfix application on the machine is rather straightforward. Double-click on the software to launch it. The Jarfix will begin to run. The message “The.jar suffix has been successfully registered” will appear. By double-clicking the Java program again, all of the files will be repaired and all of the issues will be resolved.
Because the files have been corrected by the Jarfix, you may now open them.

What To Do If You Are Still Having Issues
1). Creating a .bat file
1. Open your notepad and enter the following text into it:
Java- jar sample.jar
**Note: In the text above, replace the word “sample” with the name of your file.
2. You must now save this file with the “.bat” extension in the same location where you stored your.jar file.
For instance, suppose you titled the file “open.bat” and changed the “save as type” to “All Files.”
3. Select “Save” from the drop-down menu.
4. After that, double-tap on the open.bat file to simply open the.jar file.
2). Install JAVA
1. Go to the official Java website.
2. Look for and click the “Agree and start free download” button towards the middle of the page after you’ve arrived at the Java website.

3. To begin the free download, click the Agree button.
4. Near the bottom of the screen, click Save As.
5. Save the “JavaSetup” file to your computer’s “Downloads” folder to make it easier to find.

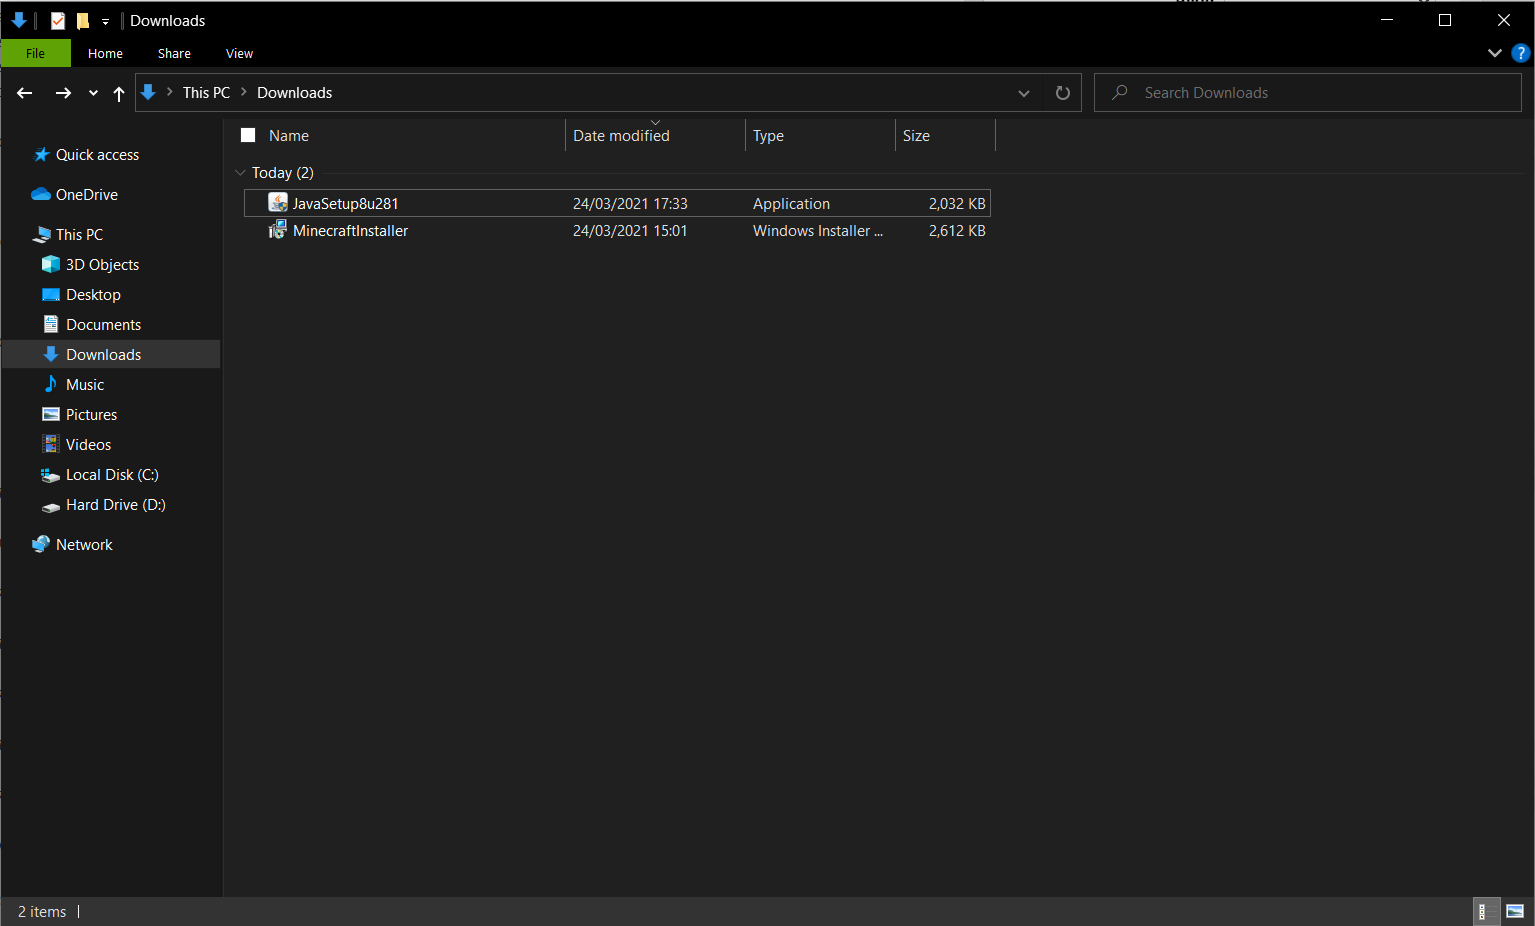
6. Navigate to the “Downloads” folder once you’ve downloaded the “JavaSetup” file.
7. Locate and double-click the “JavaSetup” file in the Downloads folder. It may have extra digits at the end of its name in the form of letters.
Note: You may need to provide access to your computer in order to launch the “JavaSetup” file and begin installing Java.
8. To proceed to the next step, launch the Java Setup program and click the Install option. If required, you may also alter the destination folder from this page.
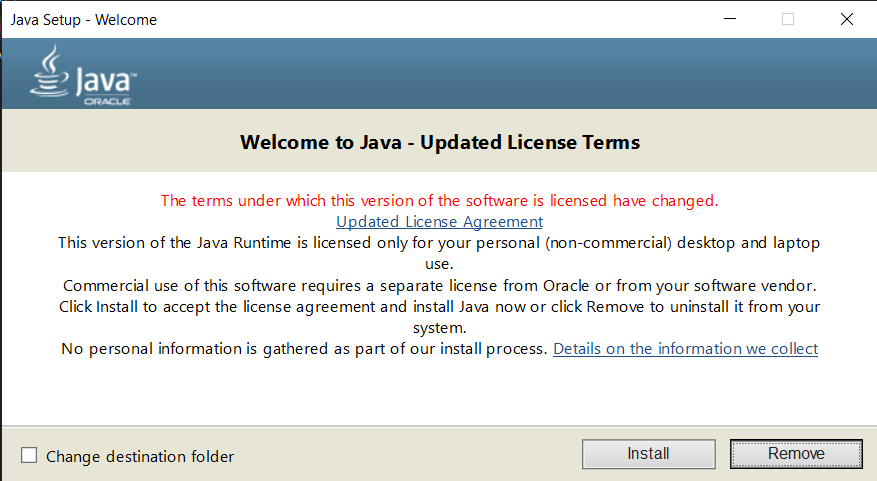
9. Java will be installed using the Java Setup program. This operation should not be interrupted by restarting your computer.
10. When you see the confirmation message after installing Java, click the “Close” button.
11. Once it’s been downloaded successfully, you’ll be able to use it. To run the file, go to the location where.jar is located and double-tap it.
3). Via Properties
1. Select “properties” from the drop-down menu after clicking on the.jar file.

2. There is now a “change” option available. Please click on it.
3. A window will appear, and you must select the option “additional apps.”
4. Then, on the system, scroll down and tap “Look for another app.”
5. You will be taken to the “File Explorer,” where you should choose the “C-drive,” and then follow the below instructions.
- Double-click on the Program files folder.
- Java should be double-tapped.
- jre 1.0.0 251 should be double-tapped.
- Double-click on the bin.
- javaw should be tapped.
You’ll be sent to the “properties window” if you double-tap on “javaw.” Tap “Apply”, then “OK”.

Your java file is now open and ready to use.
4). Using Command Prompt
1. To begin, go to your PC’s “start” menu and search for “Command prompt.” When the search results appear, tap on the “Run as administrator” option.
2. You’ll need to type the following command when the command prompt appears
ftype jarfile=”C:\Program Files (x86)\Java\jre1.8.0_251\bin\javaw.exe” -jar “%1” %*

These above solutions will undoubtedly assist you in opening.jar files.